11.4.0.1 - Roundness Testing
������������Roundness is of particular importance when designing components for fit and function.
Most of the methods considered so far are suited to measuring with single points, but a round shape is a collection of points, with each point having significant influence if out of tolerance.
Precise roundness measurement equipment is expensive
Two fundamental methods for measuring roundness are,
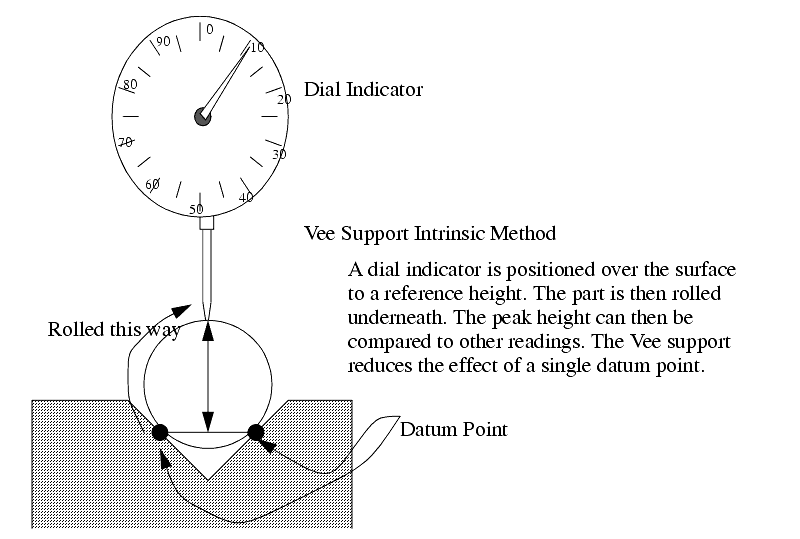
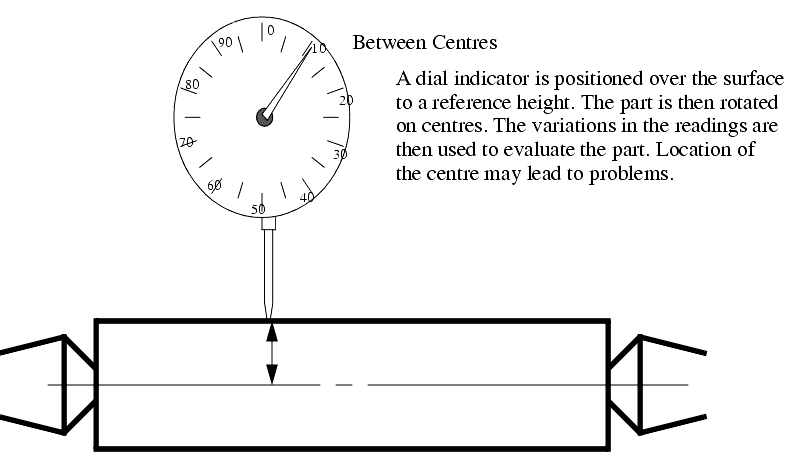
Three methods for Intrinsic roundness testing are shown below,


All three of the intrinsic methods are inexpensive
The Intrinsic methods all have an important limitation. In particular, if the deformation of the round is small, the methods will deal with it reasonably, but if the deformation is large enough to make the shape non-cylindrical, then the results will err significantly.

When using The Flat Plane, or the Centre to intrinsically measure roundness, the diameters can be directly obtained, but when using the Vee block, some additional calculations are required.

The vee block method has particular disadvantages,
The centre support method also has disadvantages,
The features of this methods are,
We can measure the out of roundness value as the minimum distance between two concentric circles that enclose/envelope the trace profile. This distance must obviously be divided by the magnification.
Only roundness deviations are amplified. This creates distortions in the trace.
The Talyrond machine also uses a low pass electronic filter to reduce the roughness that is shown on the plot. But this still shows the lobing.
Eccentricity - the talyrond can also be used to detect concentricity. A simple example is a bearing race shown below.

An example of the part discussed above, is now shown in a trace from the Talyrond

1. Show that the vee block method exaggerates errors using a round that is deformed into a triangular shape.